Portraits Jacksonville FL: Since moving toward a more bespoke model for photoshoots, I have found that some people are unsure of how the process of a shoot works with my studio. Once you find a photographer, you want you to feel confident and excited, not confused, so I’m going to walk through the steps start to finish. This should show you how your shoot with me would look!
Jump ahead to any section in this post! See below:
- Inquiry, Pricing, and Consultation
- Contract, Booking, and Client Website
- Photoshoot Planning Session
- Photoshoot Day
- Editing Process
- Reveal and Ordering Session
- Product Delivery
1. Inquiry, Pricing, and Consultation
The first thing that happens is the initial inquiry. Either you’re looking around at a few photographers and want to know my pricing, or you have been saving up for a shoot with ME SPECIFICALLY (wow, okay, you’re my favorite) and want to know availability and what products you can purchase.
If you didn’t come to me through a contact form, chances are you’ll be sent a quick questionnaire so I can make sure I have the basic facts before we chat.
I like to go over my pricing at an in-person consultation – or by phone at the very least – so we can make sure you understand my pricing structure. Some people are just looking for whoever in their area is competitive, and I get that. If you need a quick glance at pricing, I usually have no problem just shooting it your way. But if you have a few moments to spend with me – to make sure you’re comfortable and that we’re a good fit – it’s the best way to do it! It’s free, and I’ll even buy you a coffee if you’re into that.
2. Contract, Booking, and Client Website
Once we’ve gone over everything, hopefully you’ve decided you can’t live without booking me. Yay! First I’ll do a little dance at my desk chair. Then there’s a little bit of paperwork to get through – but I’ve made it easy.
You’ll get an email with a proposal based on our consultation. Now, choices – you can pay for a package with prints up-front if you like, or you can just pay for the session fee and decide what products you’d like once you see your images (that’s the most popular).
You’ll be able to select what you want right there on your phone or PC, and at that point an invoice and contract will be generated to match. Pay the due amount, sign the contract, and we’re in! You’ll have a client “portal” now where you can see invoices, communication between us, contracts – everything. Now it gets really fun.
3. Photoshoot Planning Session
I do my very best to meet with every single client between booking and photoshoot so we can plan out our images together.
Wardrobe is a huge part of this process, but it’s also good to get an idea of what sort of photographs you love – black and white only? Moody color photos? Bright white backdrops? I often find I need to provide a little guidance at this stage. That’s no problem! It’s why you hired me, and it’s what I love to do.
If we’re shooting “on location,” meaning NOT in my home studio, it’s a good time to see what sorts of challenges and upsides our location will have, so meeting at the location is a must. It also helps me to know if I’ll need extra equipment on the big day (nerd stuff).
4. Photoshoot Day
Hopefully your butterflies aren’t too bad by this point. Your team for the day consists of myself and my hair and makeup artist, Lisa. Sometimes there will also be an assistant, depending on the shoot. We’re all at your service!
Studio shoots take place at my home studio, which also has a room dedicated to clients for changing clothes and taking a break between sets. We can lay out any outfits you’ve brought and decide in what order we’ll be working through your looks.
Then you’ll get into the makeup chair! Lisa is magical – I don’t know how she does it. She’ll get you dolled up and looking your best. Some people bring a little champagne or wine to enjoy during this process, which can take between 40-75 minutes. It also helps you feel a little bit more relaxed! If water or even Mountain Dew is more your speed (or you aren’t 21 yet), that’s okay too.
After that’s done, we’ll just start working through creating the photographs we’ve already talked about during planning. I’ll make sure you’re posed perfectly, from the top of your hair to the toes of your shoes. Depending on the shoot you’ve booked and the looks we discussed, this can take from 30 minutes to 2 hours.
After that, you get to pack up and head out – hopefully somewhere swanky because you’re looking amazing and feeling really good. My work doesn’t stop here!
5. Editing Process
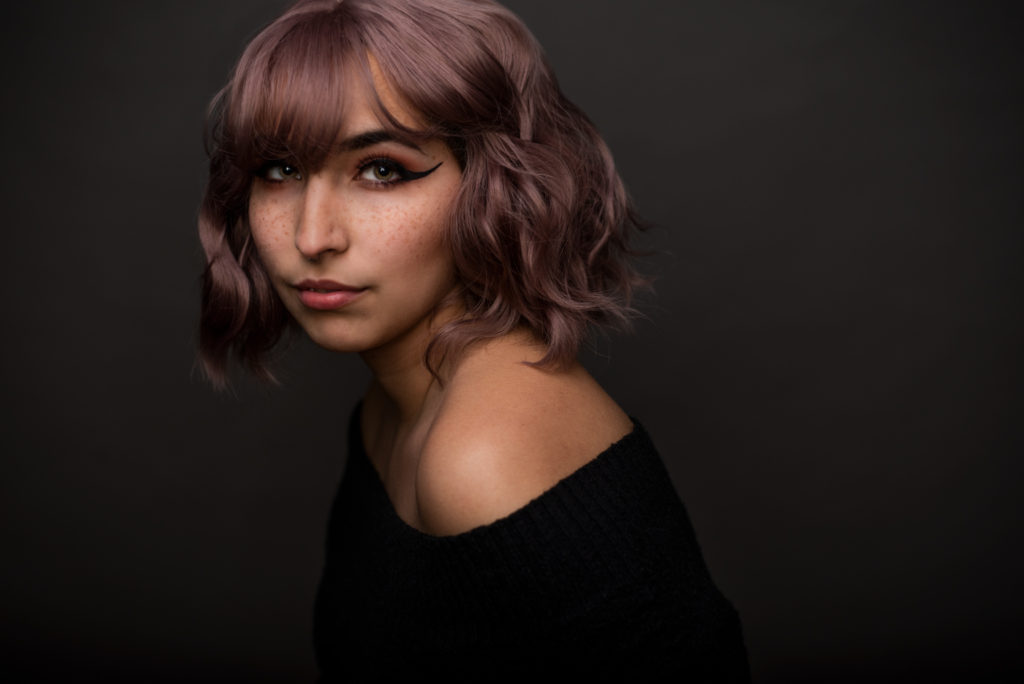
The turnaround time from shoot day to reveal day can be anywhere from 2-3 weeks. I will normally reach out to you a couple of days after your shoot to set a date to reveal your photographs. During those 2-3 weeks, I will select the best images (discarding any blinking or anything else not usable). I’ll make color adjustments and retouch them slightly, removing blemishes, stray hairs, or strange fabric lumps. The results of this process will build your reveal gallery.
6. Reveal and Ordering Session
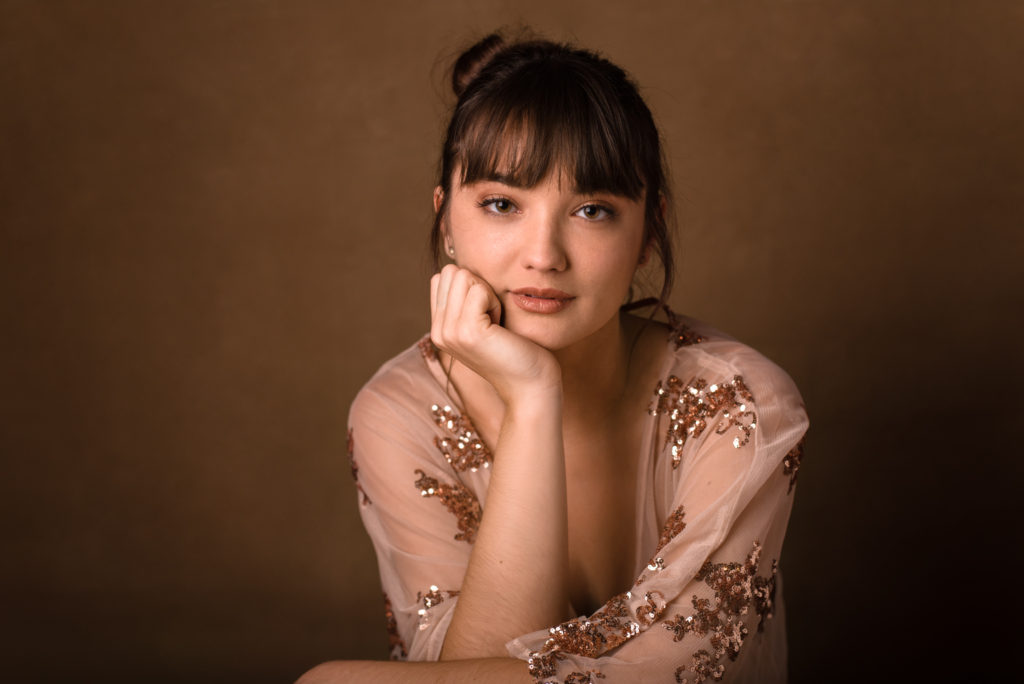
You get to see your images about 2-3 weeks after your shoot, and since I don’t typically offer any sneak peeks, you’re probably chomping at the bit! Since you rocked your shoot, I’m excited too.
Reveal sessions usually occur at the home studio. It’s really important that everyone who might be interested in purchasing is both present AND aware of my pricing structure. I can’t stress that part enough. I am always open to talking with anyone that will be at the reveal about how I operate – in fact, I prefer to do that.
At this point you’ll see a slideshow of your finished images, then I’ll allow you to see them all together and start making decisions. There will also be product samples for you to see, feel, and hold! You may have sent me a photo of your wall at home where you hope to hang your images, and I’ll have a mock-up made showing you the sizes you can choose from and how they look on that wall.
At this point, it’s usually a good idea for you to know what you’re thinking of purchasing (if you haven’t already prepaid for a package). If you have trouble deciding between two photos or you’re not sure which product you want, we can talk it all through as you go through the gallery and rate your images.
This process generally takes somewhere around 90 minutes. Once you’ve made your decision, you make your full payment – and that’s it!
This is a great time to mention that I offer payment plans through Square Installments. There’s a really quick application process, and if you’re approved, you get a digital card that I can type into my point of sale. Square will handle your payments, and I can order your product right away instead of waiting for your last payment to clear before I order! Below you can get more info.
Square Installments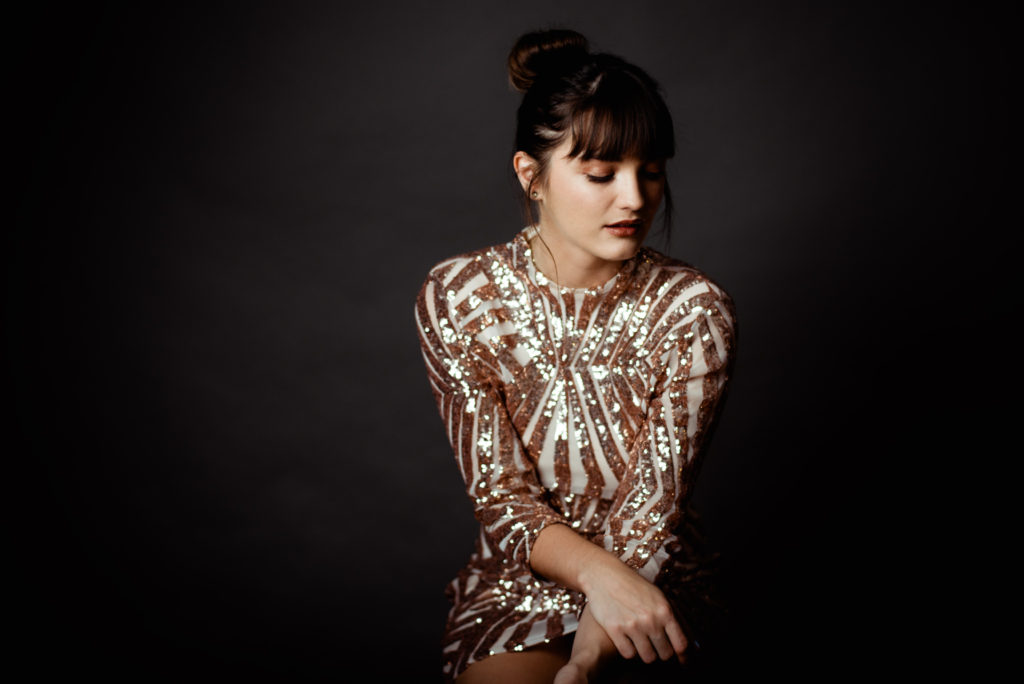
7. Product Delivery
Products can take between 1-4 weeks to be delivered to me. My leather portfolios are handcrafted in Italy and customs can take a little while! The moment I receive your order from my professional lab, I’ll reach out to you via email to set a date where you can pick it up. If you need me to drop it off to you, that’s fine too.
After that – just sign off that you received your product and you love it, and that’s all! Take your treasure home and enjoy it, or share it with others. You deserve to enjoy these forever, because they should be the best portraits of your life!
I hope this answered any questions and quelled any doubts you have about my process. If you want to talk more about it or you think you’re ready to talk about a photoshoot date, let me know below.